

Revised 04/16/2026
For more information on editing and creating System Views, please see System Customizer One: Fields, Forms, Views, Dashboards - Suggested Learning Course; System Views.
It is akoyaGO's best practice for System Customizer to work in a Custom Solution. The first step to editing an existing System View is to add it to your Custom Solution. For detailed steps, please see Creating and Adding Components to a Custom Solution in Power Apps.
After adding the System View to be edited to your custom solution, navigate to the menu of the selected Table and click Views
Select the existing System View to be edited. Please note that once you edit an out-of-the-box system view, it will be recognized as a custom view; meaning if there are changes to a system view included in an akoyaGO release, and you have edited the System View, you will not receive those changes.
Within the following page, you will have several options available for editing.
In the example below, you can see that there is already one filter in place. You can choose to delete them &/or add more filters.
You also have the option to rearrange, delete, or change the width of chosen columns. This can be done by “drag and dropping” the columns, or by clicking on the drop-down menu for each column.
To add a new column, select a column from the sidebar. If this is collapsed, click on + View column to show options:
The options for the specific table will appear as a default. Choose the column type and add associated filters, if needed.
To add a column from a related table:
- Click on the Related tab
- Search for the needed table
- Use the dropdown to find the column you would like to add. You can also utilize the Search function to find a specific column.
- For example, if I wanted to include the Primary Contact's email address in a view of Requests, I would click Related and locate the Email Address column under Primary Contact (Contact)
Once you have finished editing the system view, you need to Save and Publish.
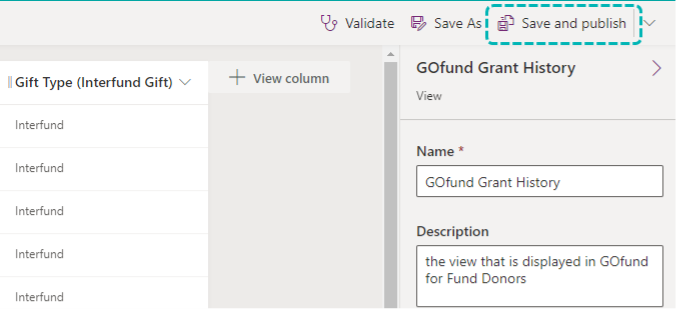
Note: The Save and publish can take up to two minutes to fully process. After the Publish finishes, you can safely exit the view editor.
To check on the status of your changes, refresh your browser window twice to reload the view.