v 1.0 ; 05/12/2023

changing colorS on fields
With the May 2023 Release, we introduced a feature that allows for clients to color-code certain options within fields/columns. This guide walks through the process of adding or editing these color choices. Please note that only users with an akoyaGO Customizer role will be able to make these changes.
introduction
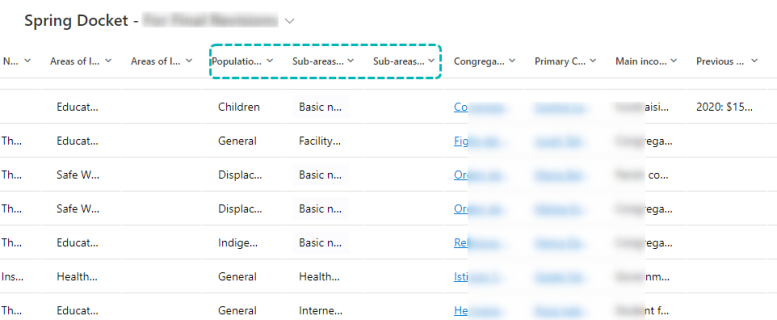
Below is an example of a client’s view that contains custom columns (fields) specific to their environment. Those choices have a bright blue color box surrounding the choice, making the text extremely difficult to see.
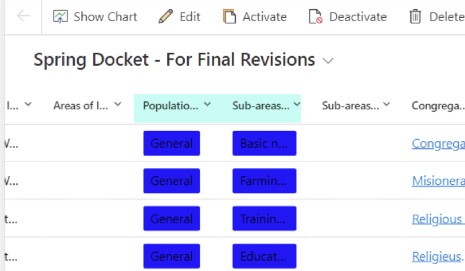
The example being used in the steps below will refer to this screenshot. The entity is “Request,” one of the columns is “Population Served.”
The following steps of this guide will show how to remove or change the colors associated to those columns.
navigating in powerapps
In a New Tab, navigate to www.make.powerapps.com. On the Home page, you will need to make sure you are in the correct Environment. You can do this by clicking on the name of your organization in the upper right of the screen.
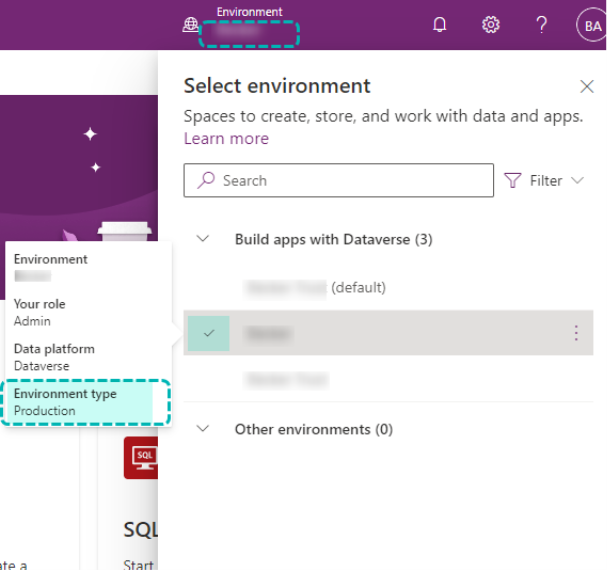
On average, there are 2-4 available environments. The one you will need to be in does not have (default) at the end of the name. The best way to determine which environment you should choose is to hover your cursor over each of the titles.
The Environment you need to be in has the type= Production. Do not select the Default type or the Sandbox type.
Navigate to Entity
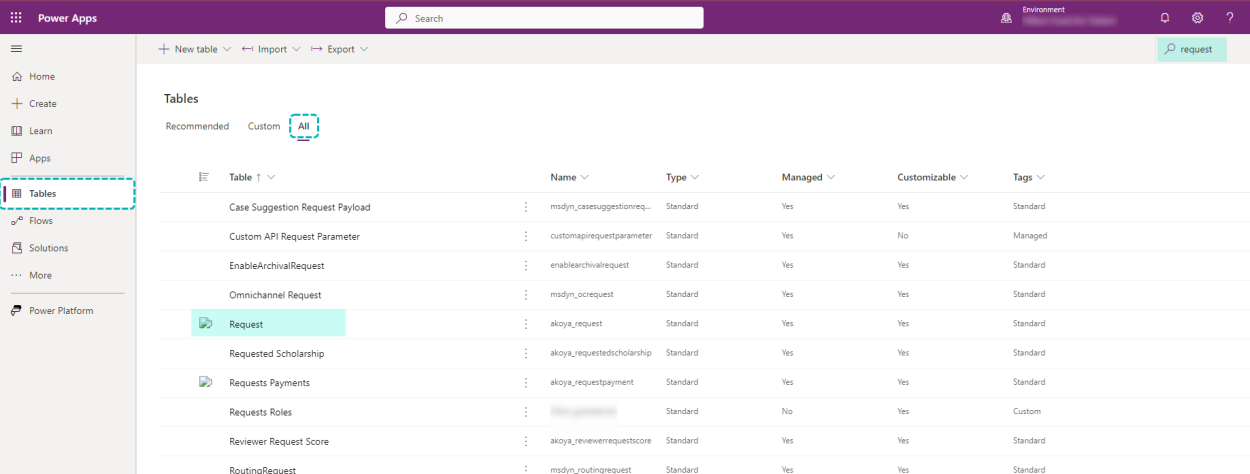
In Power Apps, the Entities you are used to (Gifts, Requests, Contacts, etc.) are associated with “Tables.”
- Select “Tables” on the left pane of options
- Click on “All”
- Scroll down or use the Search Bar to find the Table (Entity)
- Select the Entity you want to make color changes to
Navigate to Columns
Columns refer to what were previously called “fields.” Select this area to continue.
Scroll down or use the search bar to find the column (field) that you want to have colors changed on choices.
Changing Colors
- Click on the Column to add colors to
- Find the Choice to add/edit color on
- Move the selector button to whichever color you would like for this choice
- Save the changes.
Note: This example shows changing the blue color back to standard white:
.
(Depending on the column (field) chosen, you may need to click on “Edit Choice,” which will open a new window, shown below. Continue all other steps as normal.)
After saving changes, go back to your CRM, and refresh your browser to confirm the color changes.