

v. 2.1 ; 10/27/2023
![]()
Managing sandbox environments
This guide will walk through the steps needed to create a Sandbox environment. Sandboxes can be useful when needing to recover deleted records or for training purposes. We strongly advise that caution and planning be considered prior to creating/copying over any environments.
(Steps can only be completed by System Administrators.)
Creating a blank sandbox environment
In your browser, type and navigate to admin.powerplatform.com. In Power Apps, you need to verify that you are in the correct environment. Power Platform, however, will automatically open in the correct environment (no switching of environments needed.)
Select Environments from the navigation column.
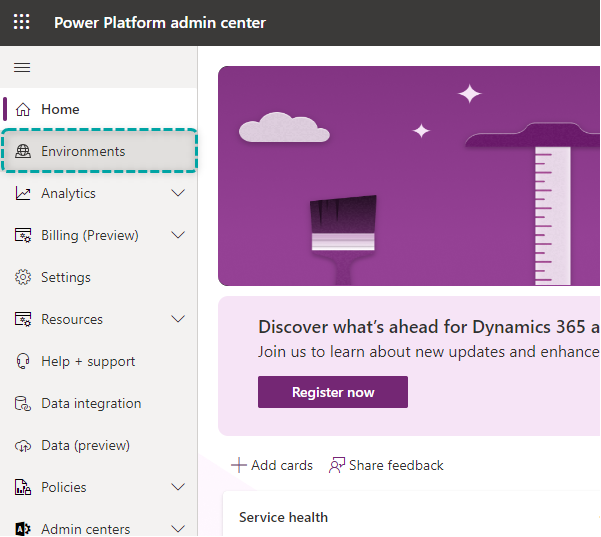
In the Environments area, you will see all active environments. To create a new Sandbox, select +New button in the top ribbon.
A window will appear on the right side of the screen. Enter details:
- Name the Environment
- Type should = Sandbox
- Toggle on the Dataverse data store option.
- Click ‘Next’
After clicking Next, the following window will need choices entered.
- Ensure the Language and Currency is aligned with your Foundation.
- Select a Security group. We recommend choosing ‘None,’ to allow access to all users.
- Toggle on the Enable Dynamics 365 apps option.
- Click Save
(We do not recommend the deploying any apps automatically)

Copying environment to sandbox
Once the new “blank” Sandbox environment has been created, you can now copy the Production environment (and all associated data) to the Sandbox.
- Click on the 3 dots next to the Production environment
- Select ‘Copy’
A window will appear on the right of your screen
- Choose Everything to “Copy over”
- Select the blank Sandbox environment
- Click Save
- Confirm the Overwrite

Note: This should be overwriting the Sandbox environment, not the Production environment. Confirm with caution.
You will be directed to the following page:
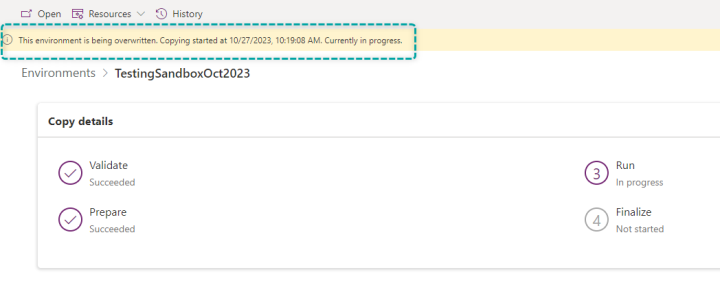
The full copying process can take several hours to complete, depending on the capacity of your Production environment.
Once the Production environment has successfully copied to the Sandbox, you will see the following screen:
If you have the following notification:
- Click on settings
- Ensure that the security group is set to ‘None’
- Ensure Administration mode is Disabled
You can now access the Sandbox environment by clicking on the Environment URL shown
Note: Auditing will be turned on automatically. We recommend disabling this to prevent storage bloating.
deleting a sandbox environment
We recommend deleting Sandbox environments once they are no longer needed. An additional environment (with all associated data) will continue to grow, potentially overextending your storage capacity. A new Sandbox can always be created in the future if needed.
Sandboxes can be deleted safely, but great caution must be taken in selecting the correct environment to delete.
From the Environments area in Power Platform:
- Click the 3 dots next to the Sandbox environment that is no longer needed
- Select ‘Delete’
A pop-up will appear:
- Type in the name of the environment
- Click Confirm
After confirming, you will see a message at the top of the screen:
After several minutes, the environment will be deleted. As the message above states, Administrators have the ability to restore the recently deleted environment. This can only be done within 7 days (168 hours exactly) of the delete time.